One of the most successful versions of the Windows operating system is Windows 7. However, like all other operating systems, even Windows 7 is prone to crashing, getting corrupted and other problems related to the boot sector and operating system. Due to crashing, hanging, getting corrupted and other problems, it often becomes impossible to load the Windows from the system disk. It is during these times that a bootable pen drive Windows 7 proves to be a lifesaver. Naturally, you see that it is absolutely essential to keep a bootable pen drive Windows 7 handy, for such times of need. However, a bootable pen drive Windows 7 is no something that you can buy at a hardware shop. You need to create a bootable pen drive Windows 7, in order to keep a back up ready for the booting of your computer when time calls for it. This article will tell you the process by which you can create a bootable USB pen drive for your Windows 7 to your PC of laptop, in order to save yourself during the rainy days.
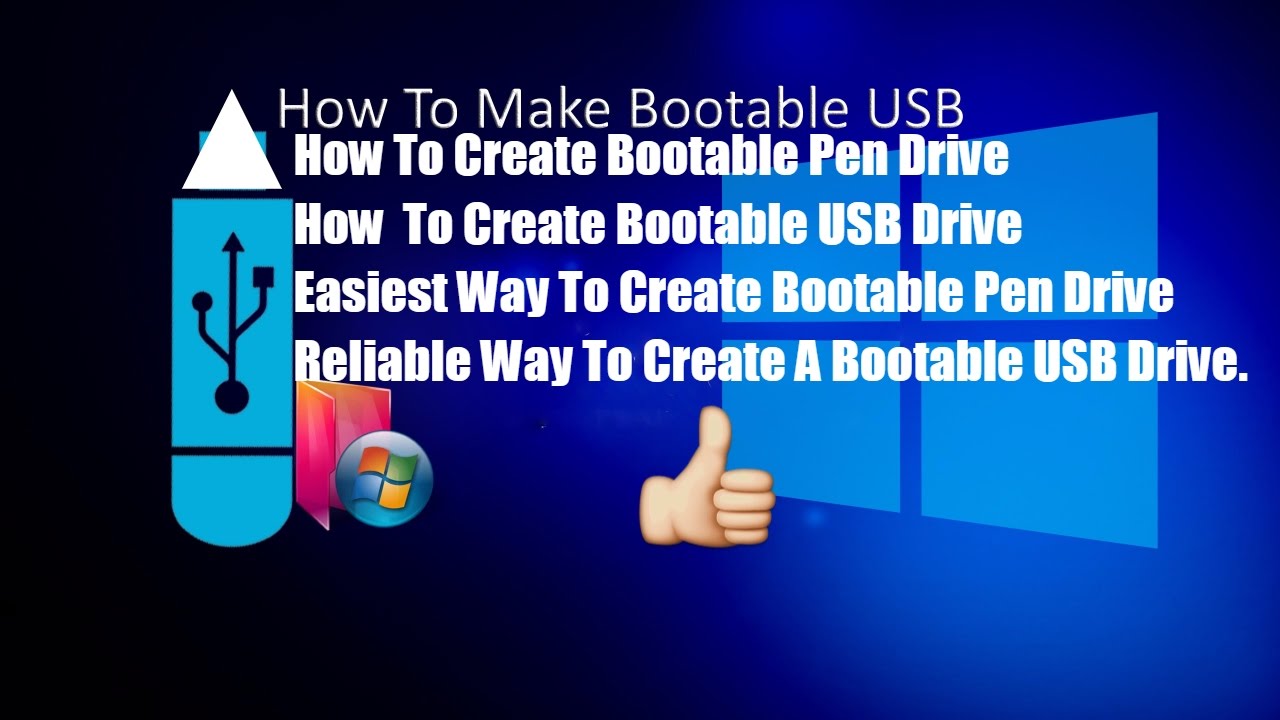
bootable pen drive windows 7
Download the USB/DVD tool
The first thing you need to do, in order to create a bootable USB pen drive for your Windows 7 operating system is to download the Windows USB/DVD tool for Download directly from the Microsoft Store. When you go to the Microsoft Store, and select the Windows USB/DVD Download tool, you will be directed to the downloads page. Here you have to scroll down to the installation section and click of the Windows USB/DVD Download tool, in order to download the file to your computer. When the download is finished, click on the downloaded file. A dialog box will appear which will ask you if you want to save it or run it. Click on Run. This will begin the installation process.
Installation process of the USB/DVD Tool
As the installation begins when you click on Run, you will see the installation wizard initiating. This wizard will guide you through the process of installation of the bootable USB pen drive for your Windows 7. The installation process takes around a couple of minutes to complete. Once the installation is finished, you will see that the wizard asks you to click on Finish to complete the installation.
Creating the bootable pen drive
Now you need to go to your desktop, where you will find a desktop shortcut of the USB/DVD tool that you have just installed. Right click on this icon and run it as an administrator.
Copy the ISO image that you have chosen
Now, a dialog box will appear that will ask you to specify your ISO image. You can browse through your file and folders and select the ISO image you want. The file path of the file will be displayed in the box. Click Next and you will be asked to choose the media type. Here choose USB device and then Click on start Copying.
Once the process is over, you are ready with your bootable pen drive Windows 7. You can use it whenever you want.